|
|
|
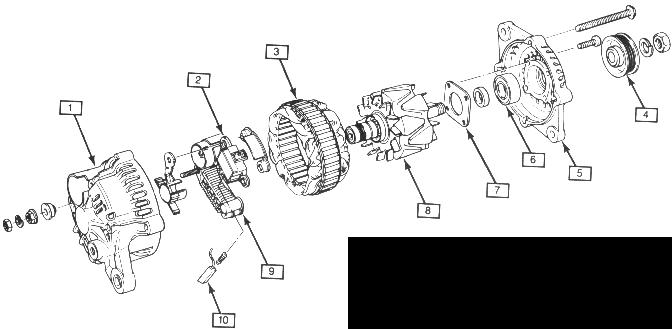
| 1. Rear Housing (End Frame) | 6. Bearing |
| 2. Voltage Regulator/Brush Holder | 7. Retainer |
| 3. Stator Coil | 8. Rotor (Magnet Assembly) |
| 4. Pully | 9. Rectifier |
| 5. Front Housing | 10. Brush & Spring |
INSPECTION & REFURBISHMENT
1. Remove the alternator from the vehicle
2. Mark the relationship of the end frames to ensure they are assembled
correctly.
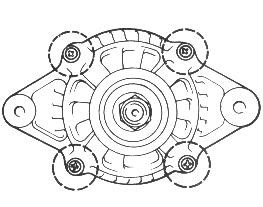
3. Remove the four rear housing screws.
4. Using a 200Watt soldering iron, apply heat to the end bearing box
area on the rear housing. When the tempurature is
at 122 - 140degrees.
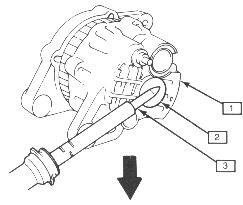 1.
END FRAME 2. BEARING BOX
3. 200watt IRON
1.
END FRAME 2. BEARING BOX
3. 200watt IRON
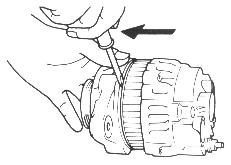
5. Pry the front housing from the the stator core.
6. Remove the B+ post, then remove the stator-to-rear frame screws
and detach the atator from the rear frame.
7. Separate the Regulator/Brush holder, then unsolder the leads from
the brushes.
8. Measure the length of each brush. If they are not in specification
length, replace the brushes.
a. Standard Length - 0.63in (16mm)
b. Minimum Length - 0.08in (2mm)
9. Install the new brushes by reversing the removal procedure, making
sure they are installed in the correct relationship with
the slip rings.
10. If the regulator is faulty, replace it along with a new set of
brushes.
11. Set new regulator/brush holder in position, lower the stator back
into the end frame, and install the screws.
12.Compress the brushes into the brush holder and pass a rigid wire
(straightened-out paperclip) through the small
hole in the end frame and into the brush holder.
This will keep the brushes out of the way of the rotor slip rings as the
alternator is reassemble, and is why the hole
is there..
13. Once again, heat the rear bearing box of the end frame with the
iron, and allow it to reach the same temp as stated
before. Assemble the two halves,
making sure the previously applied marks are ligned-up.
14. Install the four screws and tighten them securely.
15. Remove the wire.
16. Install the alternator, belts, and whatever else.
The Tracker Alternator is only rated at 60amps. There are adapters and rebuild kits to mount Standard AC DELCO 120amp units, or to rebuild the existing to a higher rating.
Since I run Two 200watt amps, two power inverters, alarm system, and
a PalmTop PC (always on), my belt starts to slip unless I turn turn the
Inverter off (running the PC), and keep the radio and everything else off
till the battery charges up..